One of the challenges in marketing your rugby club is creating high quality content that your audience can engage with. Images tend to get more engagement than simple text posts – they’re also more likely to get seen as someone scrolls through their feed as they stand out more. Designing and creating high quality images doesn’t have to be difficult though!
Canva is an online design site which allows you to create graphics for the different social media platforms, as well as create leaflets and posters of a reasonable quality without the need for a designer. It even offers a mobile app version so you could design your images on the go. Any images are synced up within your account so you can start an image on your phone whenever inspiration strikes and then put the finishing touches on your computer at home later.
It is true that if you want something to look completely professional, hire a professional. However, if you are following the ‘good enough is good enough’ philosophy this simple tool can make your graphics and designs sleek and attractive.
Creating a Graphic
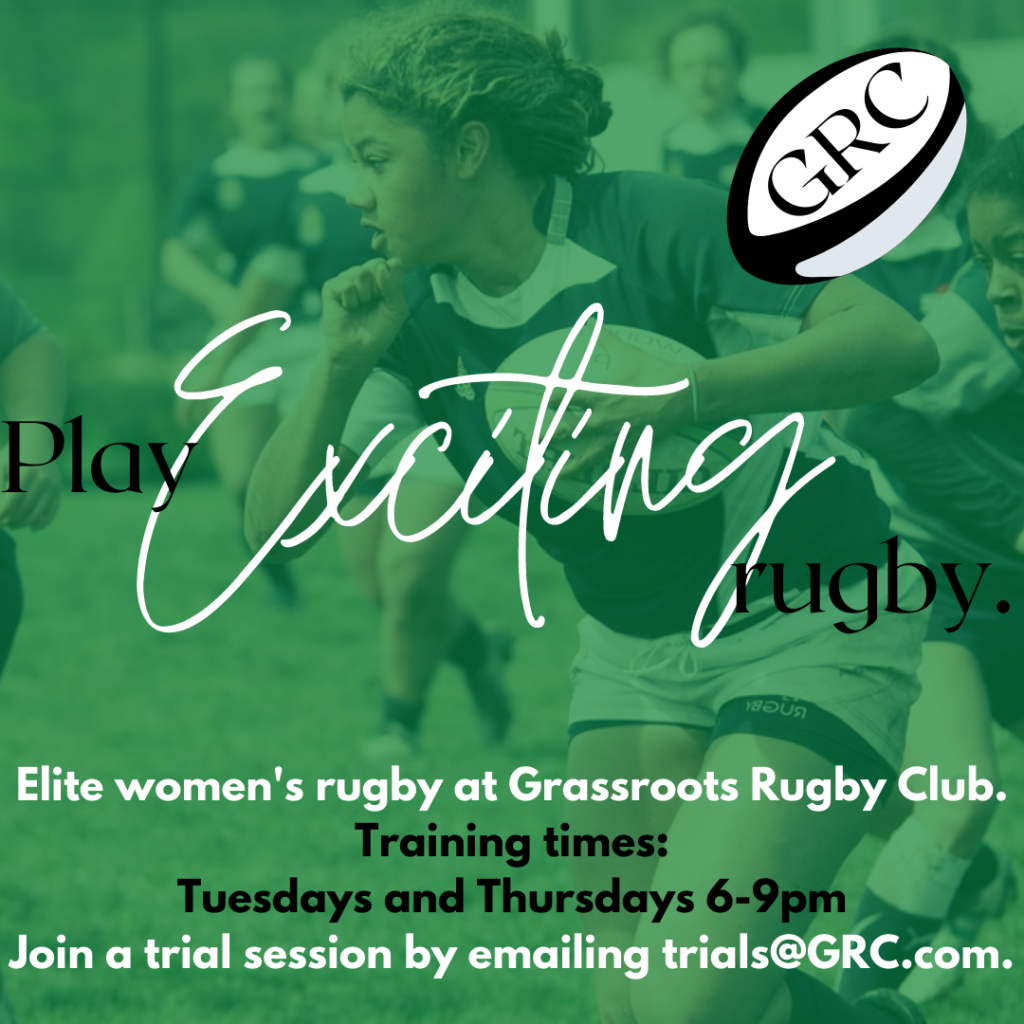
For the purpose of this article, I will be promoting ‘Grassroots Rugby Club’ who are looking to recruit new adult female players into their team, it is an elite team so it is for experienced players. Since this is a fictional team I will be using images from pixabay.com which is a stock image site, this could be very useful for you to use too, especially if you don’t have many team photos yet or are trying to promote something which doesn’t need to be badged up.
To use Canva you do need to sign up, but if you keep the free version, there will be no surprise charges and you can turn off their marketing emails too.
Step One – Choosing your template
Firstly, you need to decide which platform you want to post on or whether you want to design a printed product. Canva has all the appropriate dimensions in their many templates so that you don’t have to worry about parts of your design getting cut off, on top of this they have templates which come with additional text design and themes.
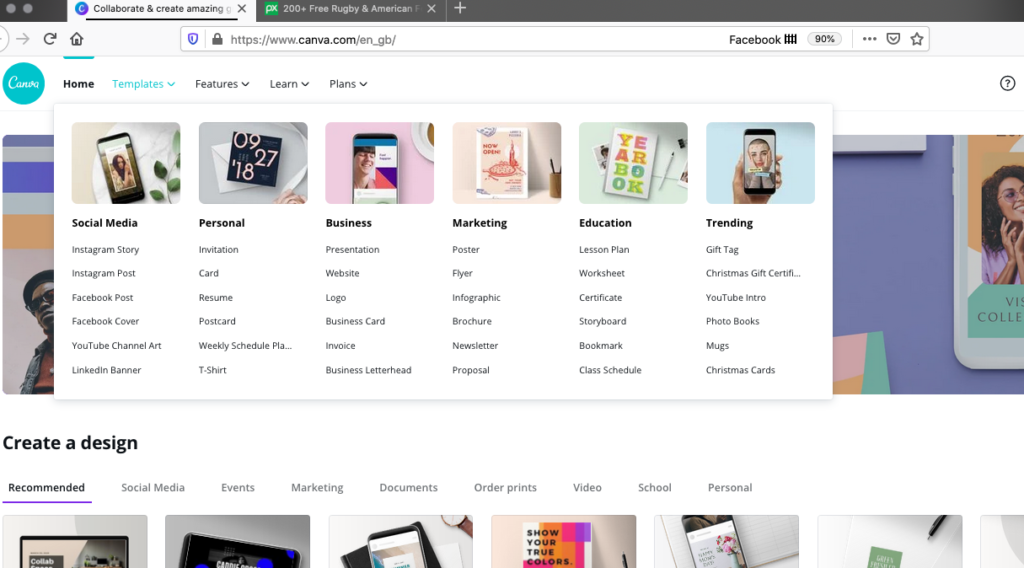
I am choosing to create an Instagram post, at this point you can search through the templates to find something which suits your needs or you can create a blank Instagram post. Like most sports club volunteers I am both pushed for time and not a marketing expert, so I am going to find an appropriate template and work from there.
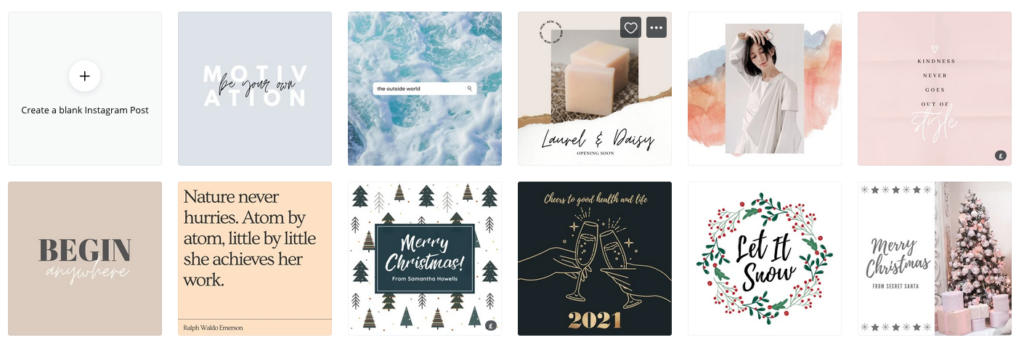
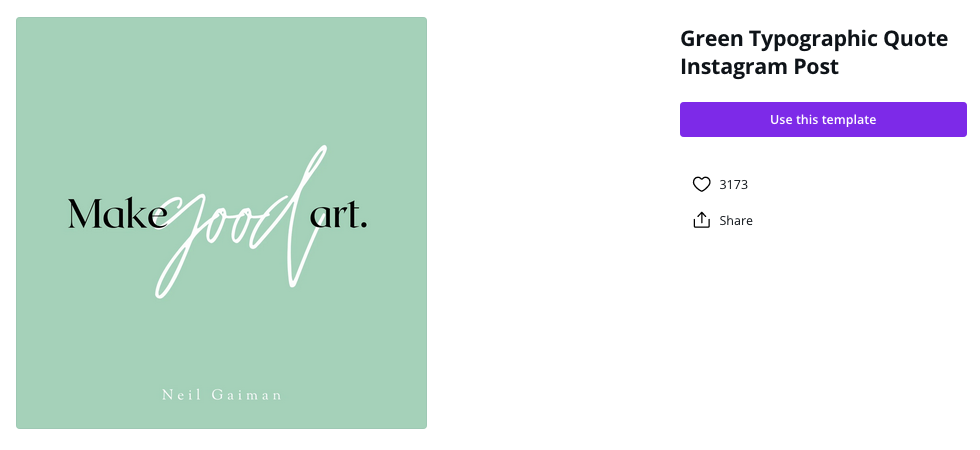
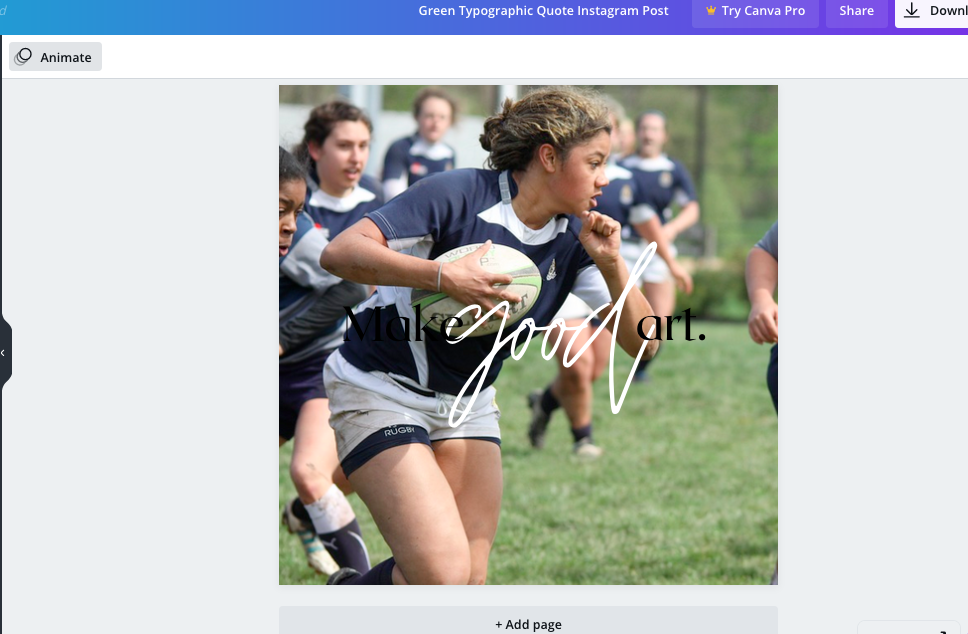
You can choose a themed template for different reasons, it could have visually interesting fonts, colour scheme or a part of it’s design which works for you and then you can adapt and change the rest from there. I have chosen this design, which at the moment looks nothing like Grassroots Rugby Club’s branding but I can use it as a base:
Step Two – Uploading your images and logos
To use an image or your badge, you just need to upload it to the site and it will be stored there for future use to. You can drag and drop if using a desktop, which makes the process so easy, or you can click the ‘upload media’ button in the ‘uploads’ section and search your computer for the image you want to use. You can then click on these images to use them in your graphic.
I would always recommend having an appropriate image in your marketing, especially if using a social platform, as this will ensure that your post captures the attention of your target audience. If you are looking for beginners, a picture of laughing/smiling players at training will make the post feel welcoming. If you are looking for competitive players who are more experienced you are better off using a picture from a fixture. These things may seem like small details, but when using graphics it is more important than the words used.
Step Three – Editing your images and fonts
Editing your images is really simple to do, there is a really simple tool bar which gives you plenty of options.

For my image, I am going to adjust the transparency so that the writing I intend to use is clear in front of the image, no point advertising the fantastic team I have if they cannot read who we are and how to join us!
I am also changing the background colour so that my club colour (Grassroots green) shows through and is the prominent colour of the graphic. To do this I have clicked on the image and pressed the colour button in the corner. You could also use a filter to alter your image, which does a lot of the work for you.


This alters my image so that it is in keeping with my club’s marketing theme (Grassroots green and very visual) and allows the writing in the foreground to stand out. I have edited the writing to actually have something to do with my goal, and adjusted the placement and size of each part. Here I have scaled down the font from the centre to allow it to fit in the template properly and moved the outer words so that they are balanced around the word.


Step Four – Adding other elements to your images
One of the many joys of using a site like Canva is that they have a vast range of fonts, which is both a blessing and a curse for someone who is not overly fond of marketing! Remember, you can spend hours scouring through the free fonts to feel just as clueless to what you want by the end of it. Simple rule, important information in bold, block writing and a simple font is best – save the loopy stuff for the headings.
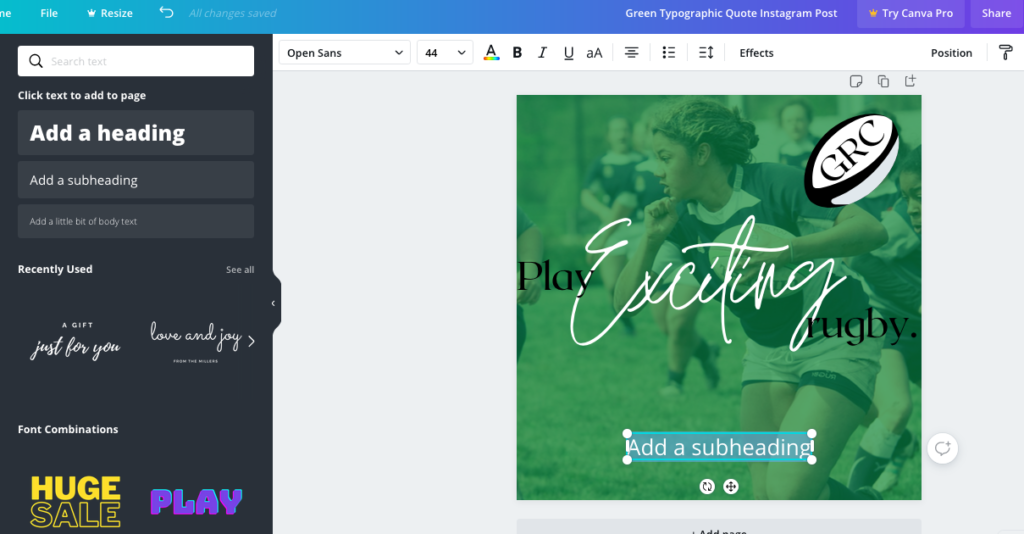
Contrast in fonts and colours is usually a winner when it comes to being eye catching, which is why it is a designer’s go-to. I have decided to leave only the one word in ‘fancy’ writing and just contrasted the colours. Keeping it simple as possible is really the best way, the more features and text you put in, the more crowded and chaotic these things tend to look.
Don’t forget that somewhere on your design you will want a clear ‘call to action’ and a way to contact your club.
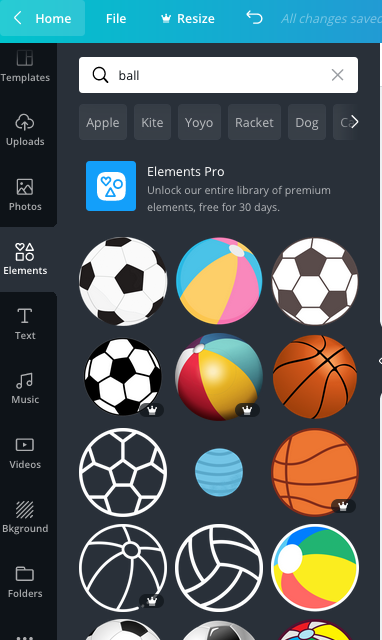
Another feature which will potentially benefit you is the ‘Elements’ section, which includes a really simple search tool to find clip art style images to use in your designs. If you know what you are looking for, this can save you time googling for appropriate transparent images, when you haven’t got the time to spare.
Step Five – Saving your image for use
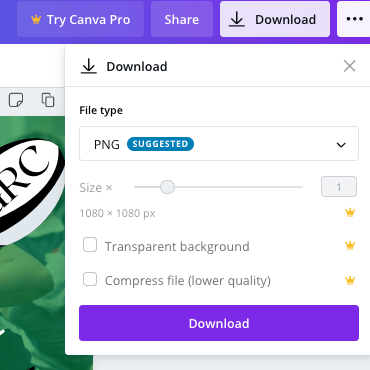
Using the free version of Canva allows you to save your image as one of several file types, and even recommends which to use for each of the templates (for an Instagram post it will recommend PNG but for a poster it will recommend a PDF so it can be easily sent to a printer). Just remember, Canva probably knows best!
And here it is…
My final design, ready to be posted on Instagram as part of my recruitment campaign. It may not set the world alight, but it is clear, has a branding and only took me 20 minutes to create it. Not too shabby for a busy rugby club volunteer.
Conclusion
Creating high quality images doesn’t have to be difficult using software such as Canva. There are some other alternatives that do similar things such as Adobe Spark Post (available as a mobile app) and you can try various software until you find one that works for you. The principles that we’ve explored in this article will give you some ideas on how to create high quality images no matter what software you’re using.